|
I grew the rhubarb from my mom's garden plot. Here is the recipe for the pie crust https://sallysbakingaddiction.com/baking-basics-homemade-buttery-flaky-pie-crust/ Pages 15, 16 and 17 have the recipe for the pie crust. and here is the recipe for the whole pie itself https://sallysbakingaddiction.com/strawberry-rhubarb-pie/ Pages 11 and 12 have the condensed recipe for the pie.  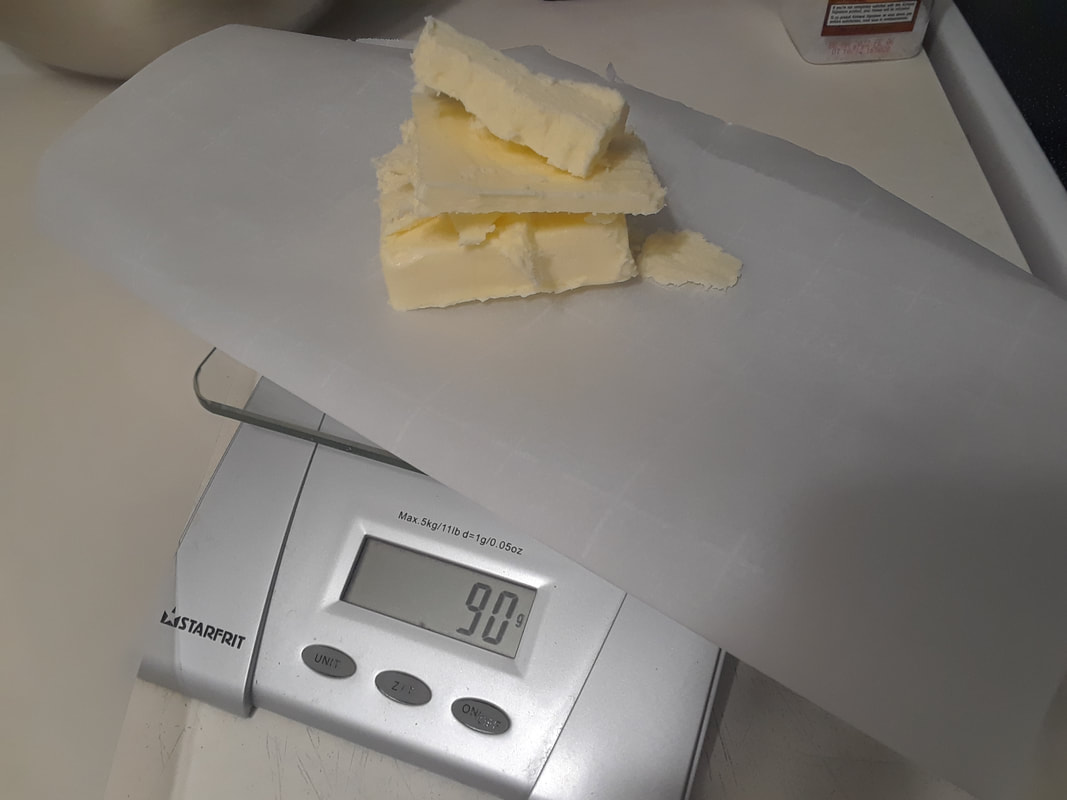 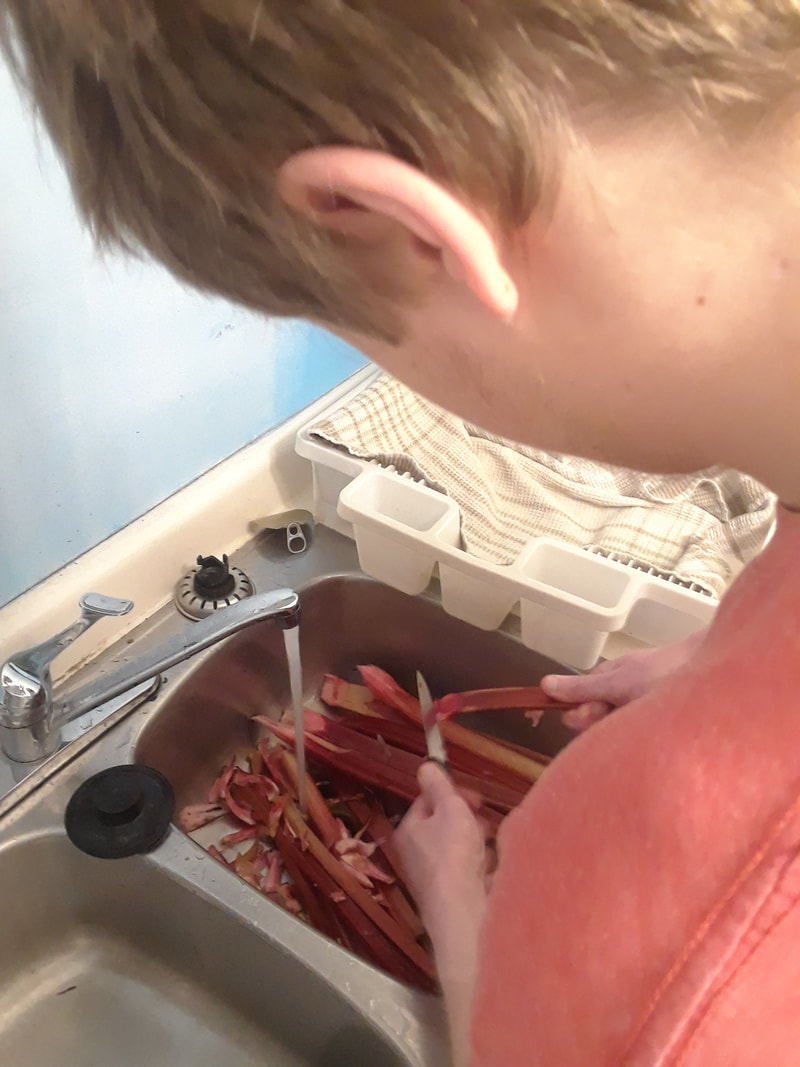 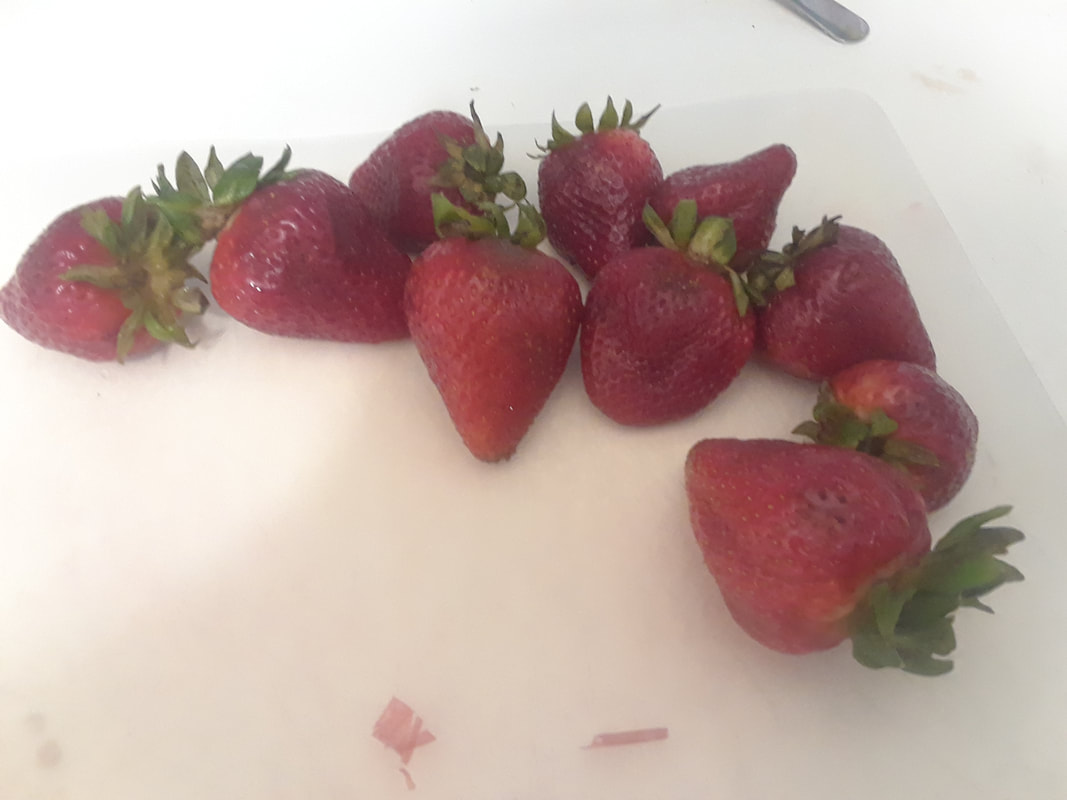 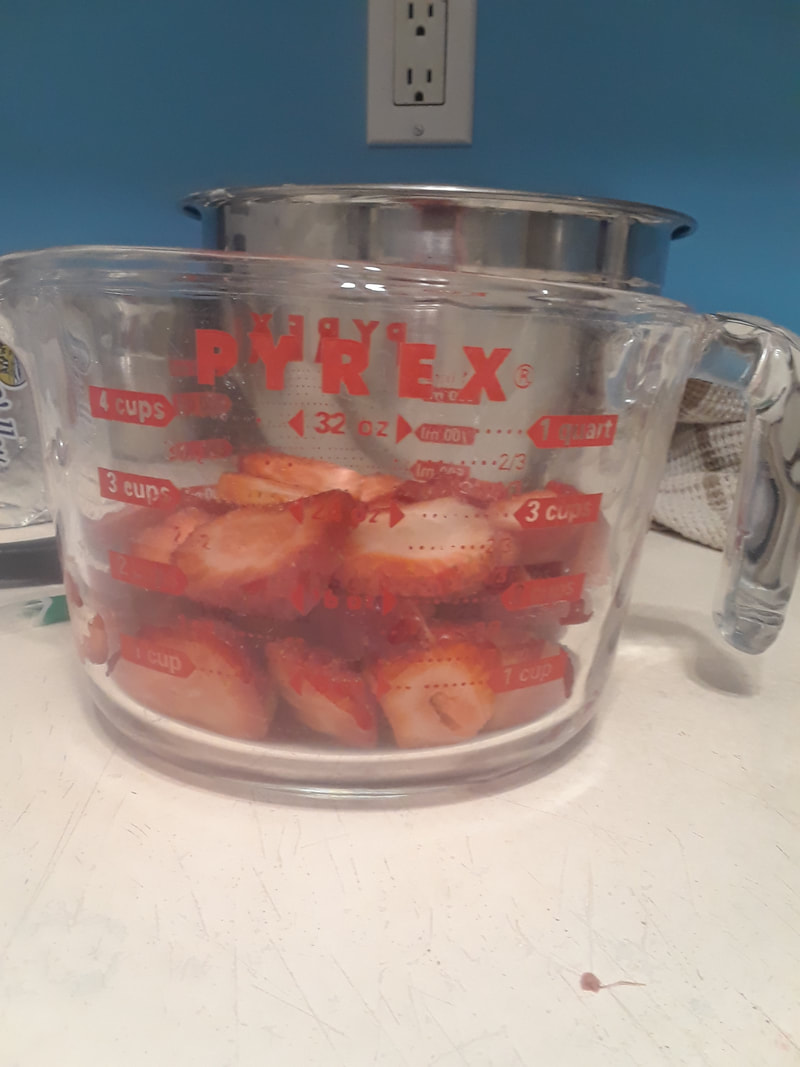 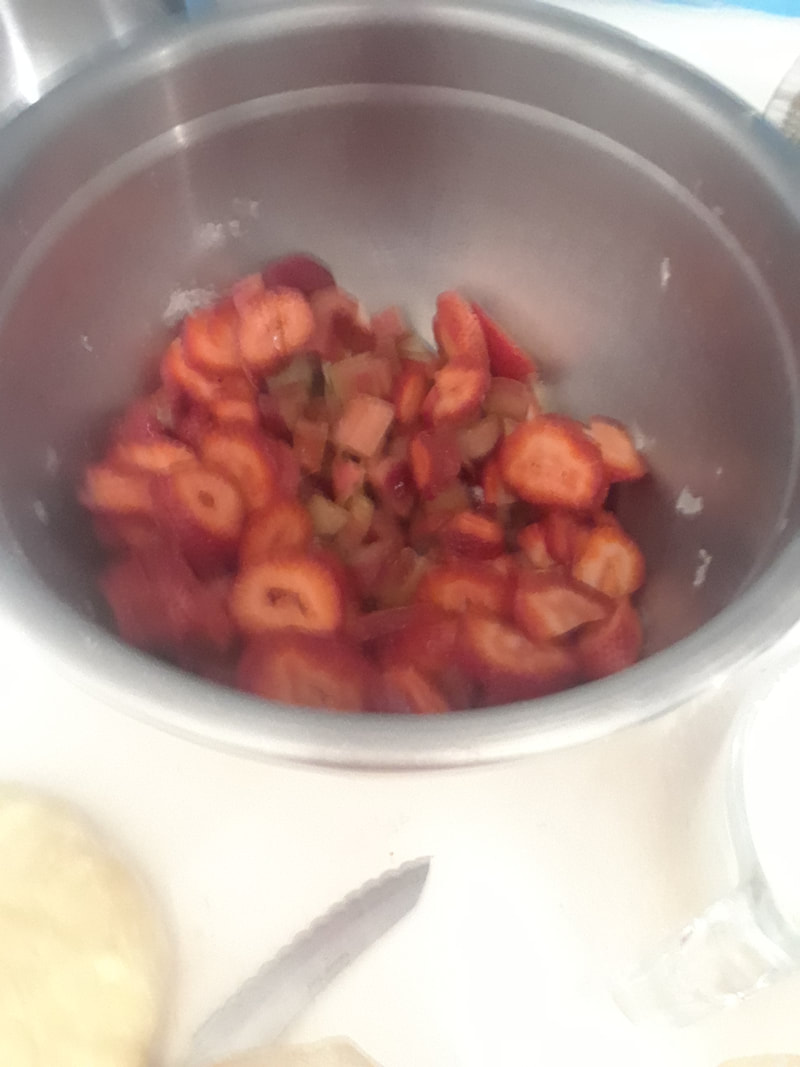  1 large egg, lightly beaten with 1 Tablespoon (15ml) milk 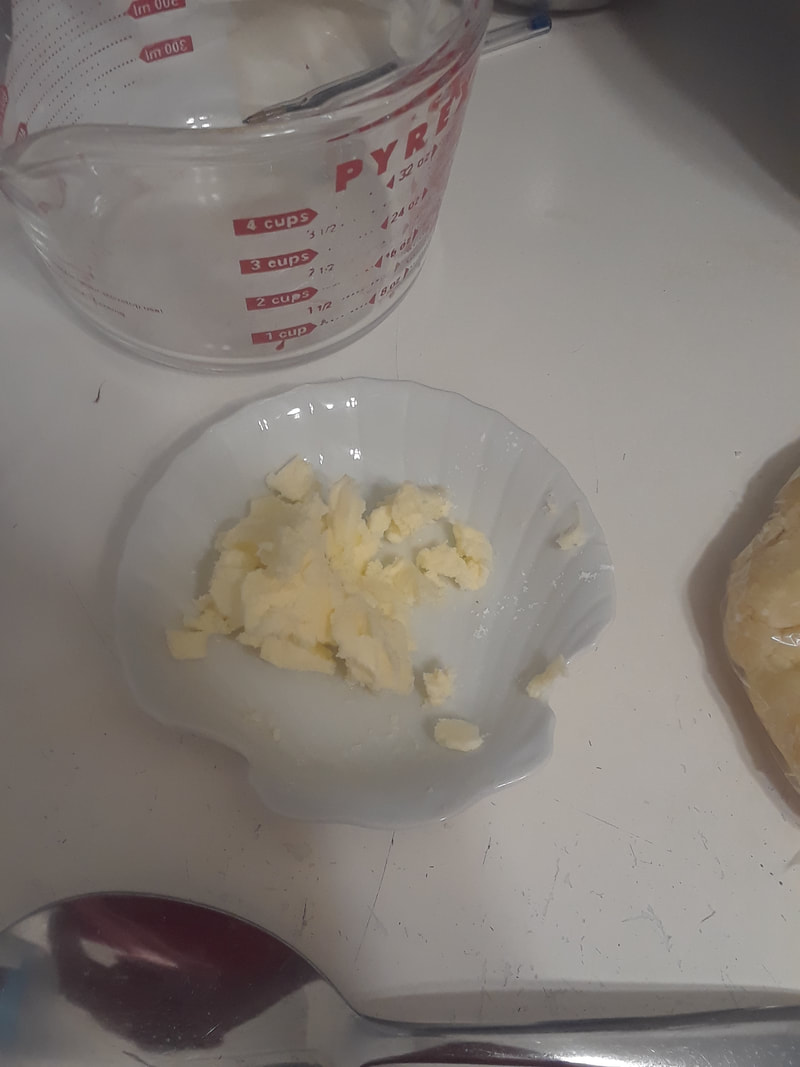 Butter Step 1: Do I have all the ingredients? Please excuse the mess in the first picture.
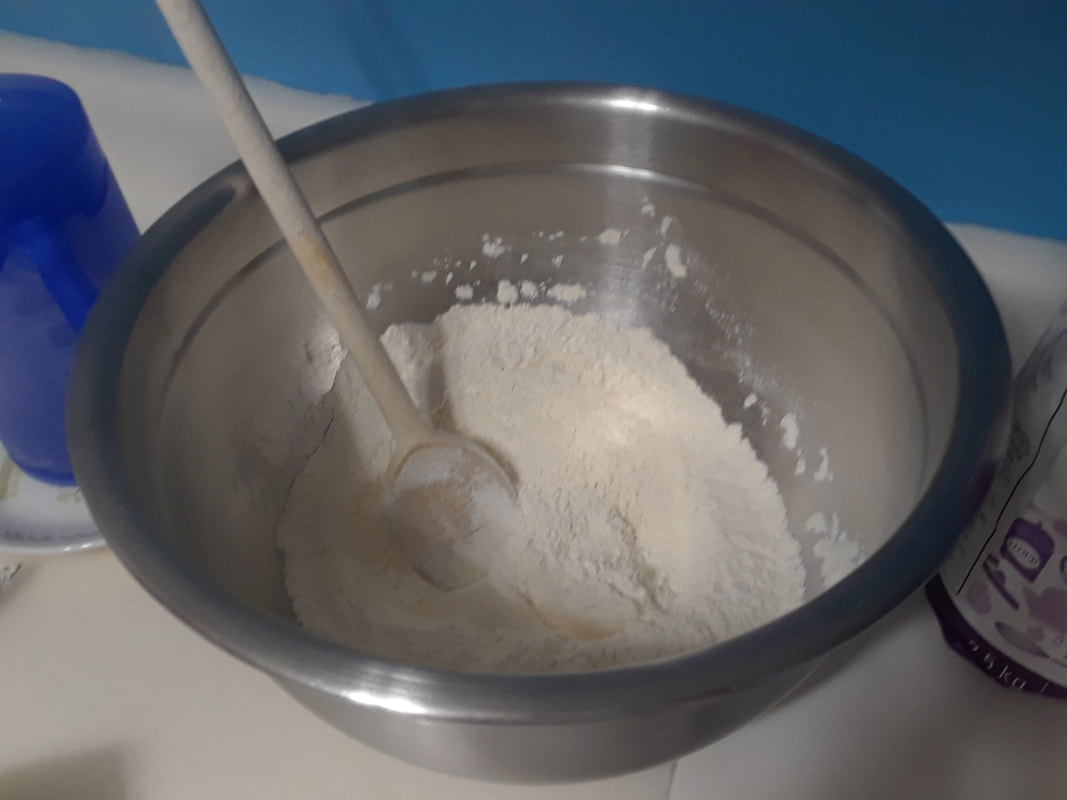 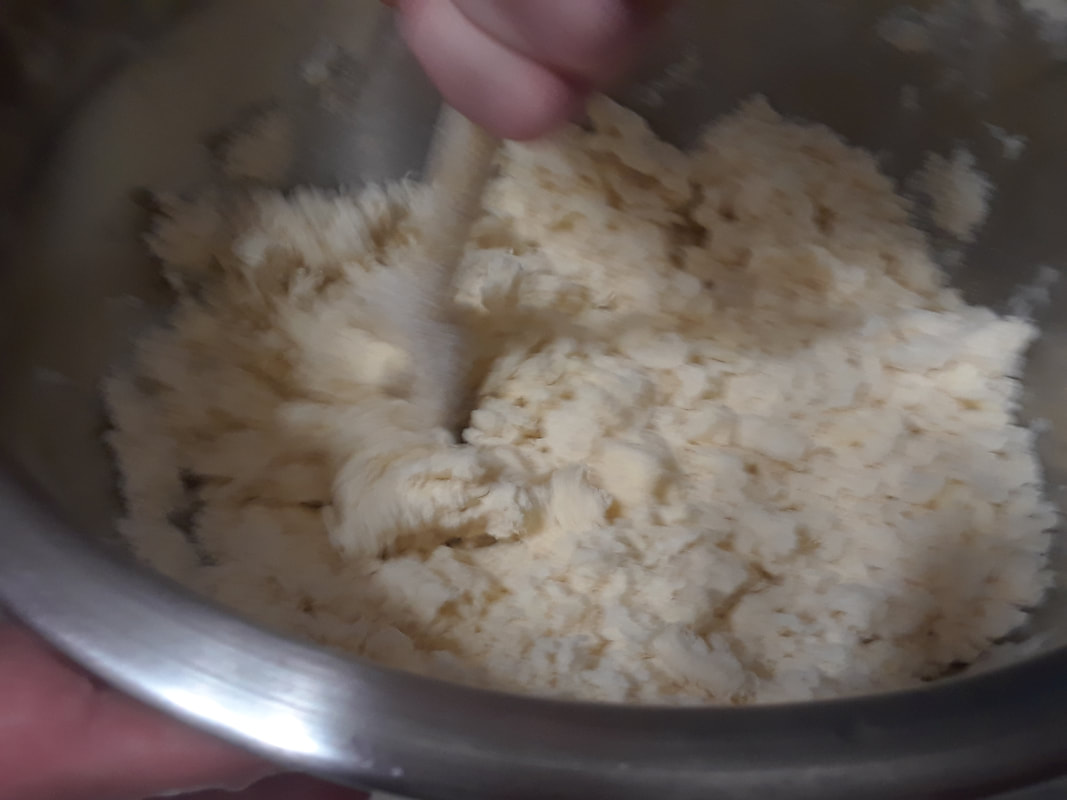 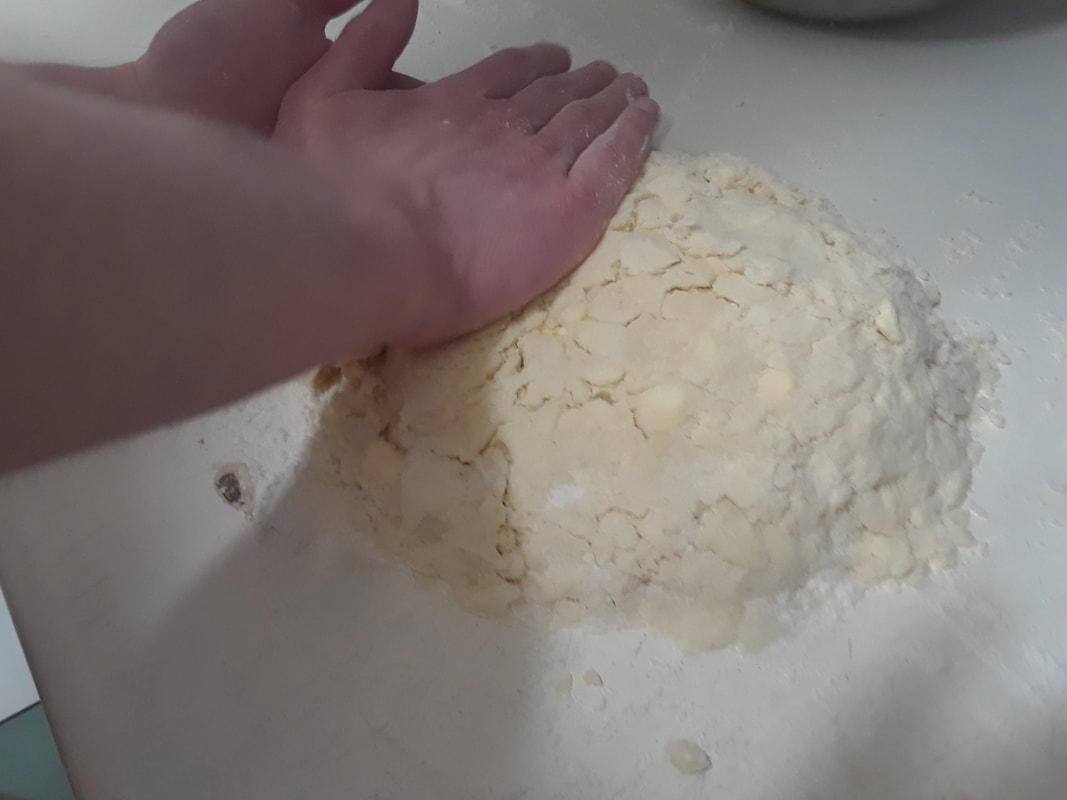 Step 1 for Pie Crust: Mix the flour and salt together in a large bowl. Add the Butter and shortening. 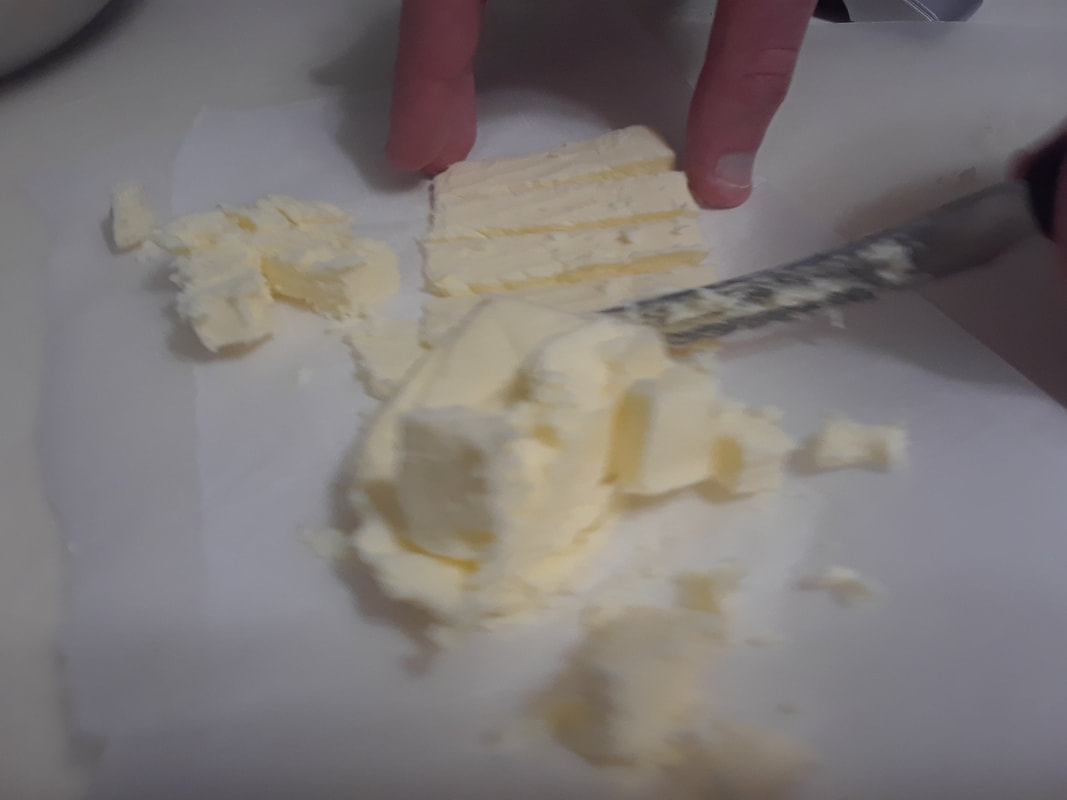 Step 2 for Pie Crust: Use a pastry cutter or 2 forks or even a knife will do into pea-sized bits I cut up the butter with a knife instead of a pastry cutter or two forks. Step 3 and 4 for Pie Crust: My mom and I added a bit more water because the dough was really dry. The extra water worked although we had to pour tiny bits of water onto/into the dough on the cutting board and fold the water into the dough. It worked though.  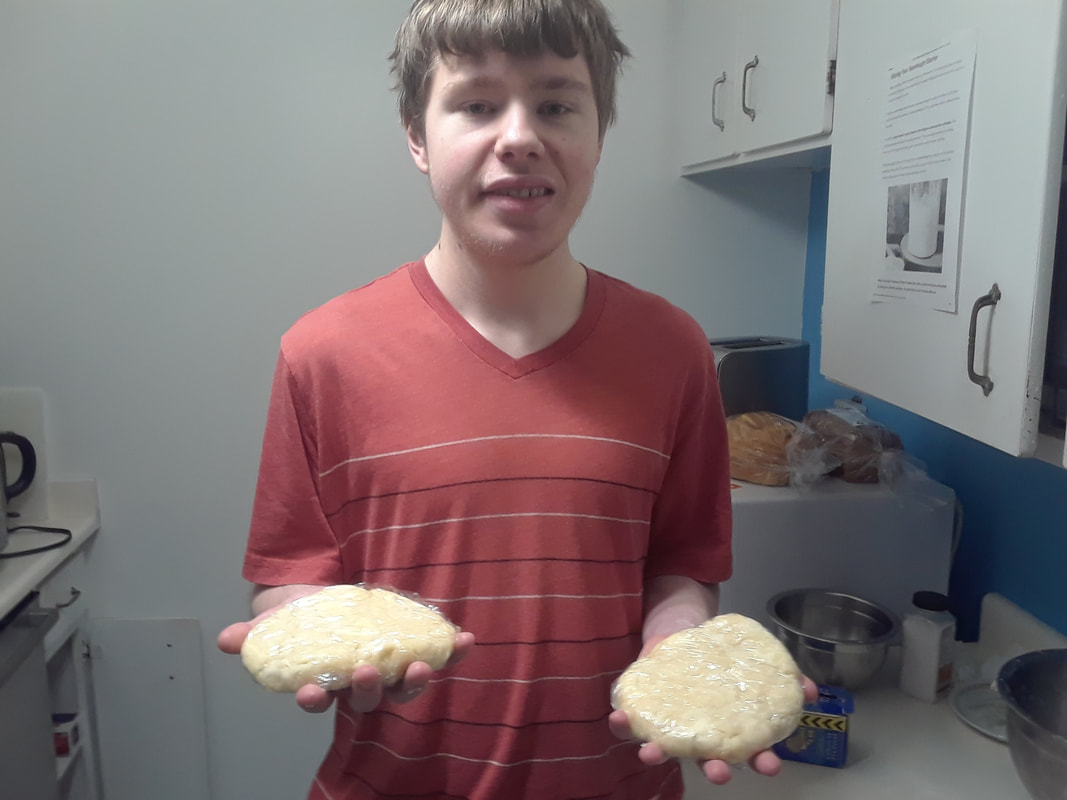 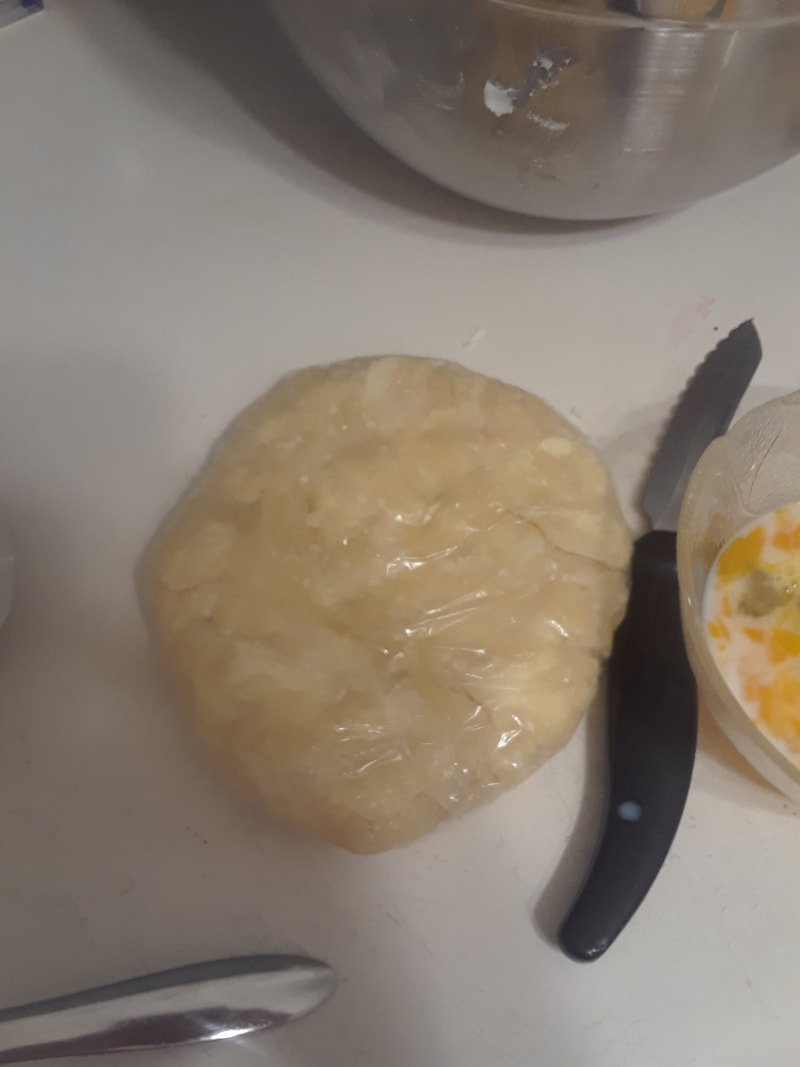 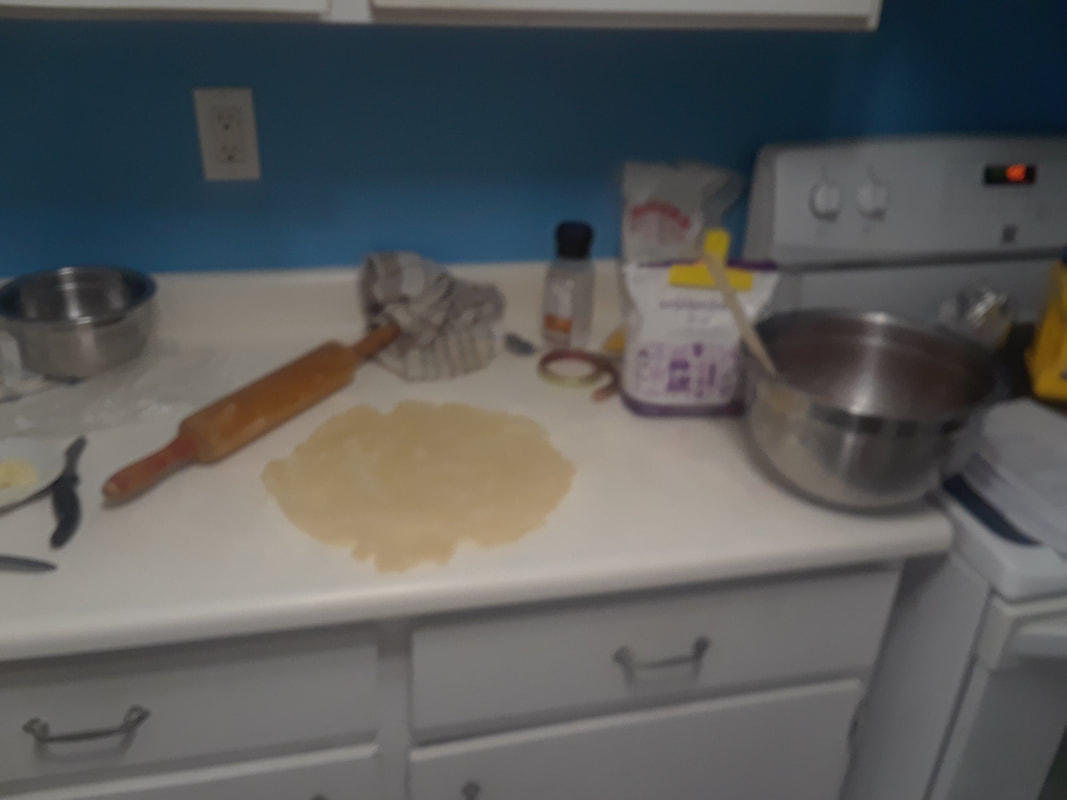 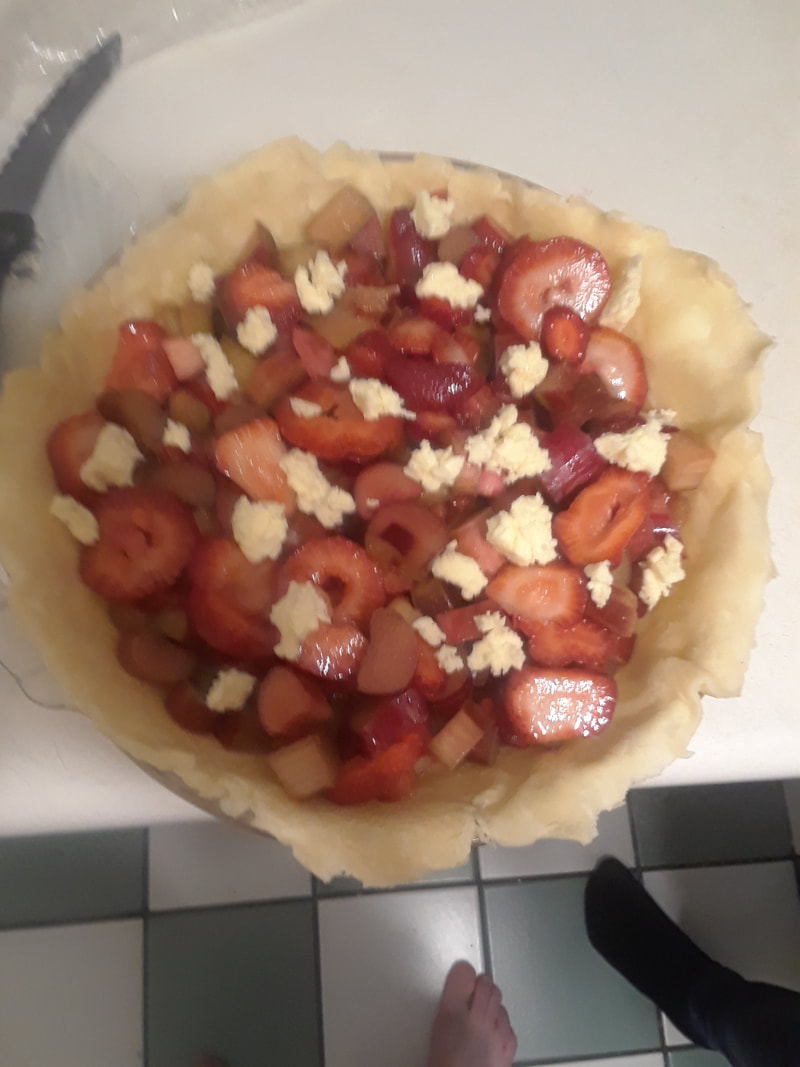 Roll out the chilled pie dough: On a floured work surface, roll out one of the discs of chilled dough (keep the other one in the refrigerator). Turn the dough about a quarter turn after every few rolls until you have a circle 12 inches in diameter. Carefully place the dough into a 9×2 inch pie dish. Tuck it in with your fingers, making sure it is smooth. Spoon the filling into the crust, leaving all of the excess liquid in the bowl (you don’t want that in the filling– discard it). Dot the pieces of butter on top of the filling. 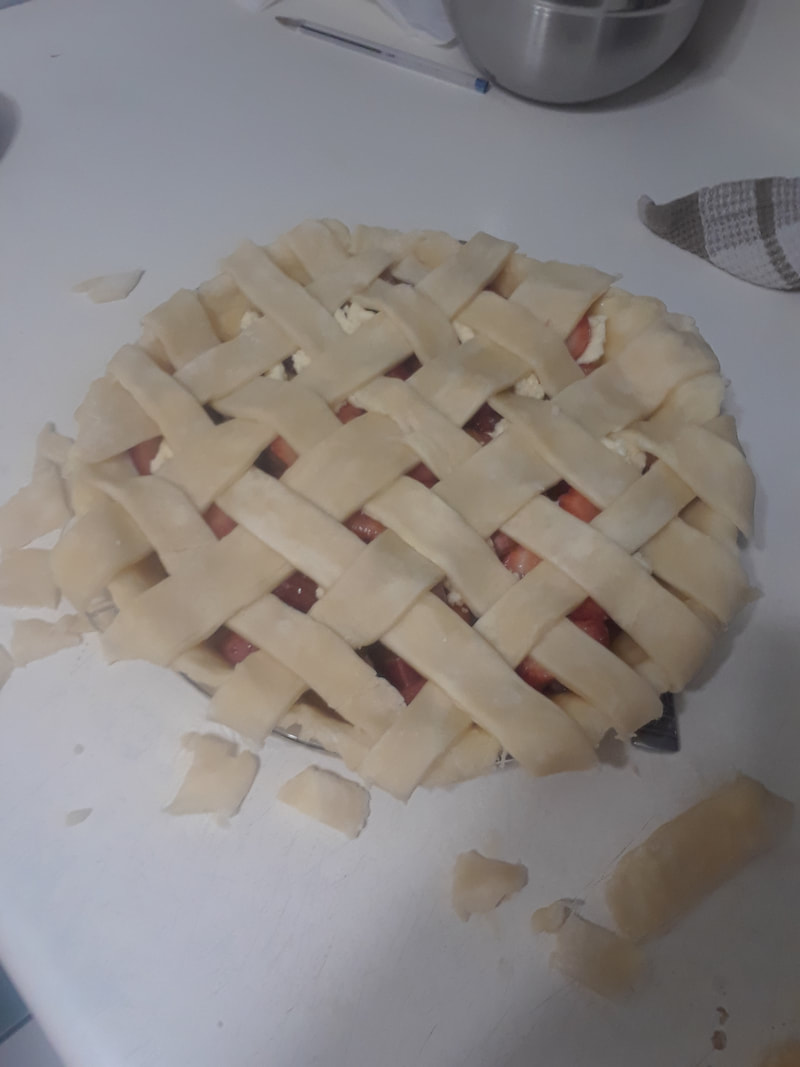 Arrange the lattice: Remove the other disc of chilled pie dough from the refrigerator. Roll the dough into a circle that is 12 inches diameter. Using a pastry wheel, sharp knife, or pizza cutter, cut strips 1/2 – 1 inch wide. Carefully thread the strips over and under one another, pulling back strips as necessary to weave. Press the edges of the strips into the bottom pie crust edges to seal. Use a small knife to trim off excess dough. Crimp the edges with a fork, if desired. (Alternatively, you can simply cover the filling with the 12-inch pie dough circle. Cut slits in the top to form steam vents. Trim and crimp the edges. Or a crumble or streusel topping would be great.) 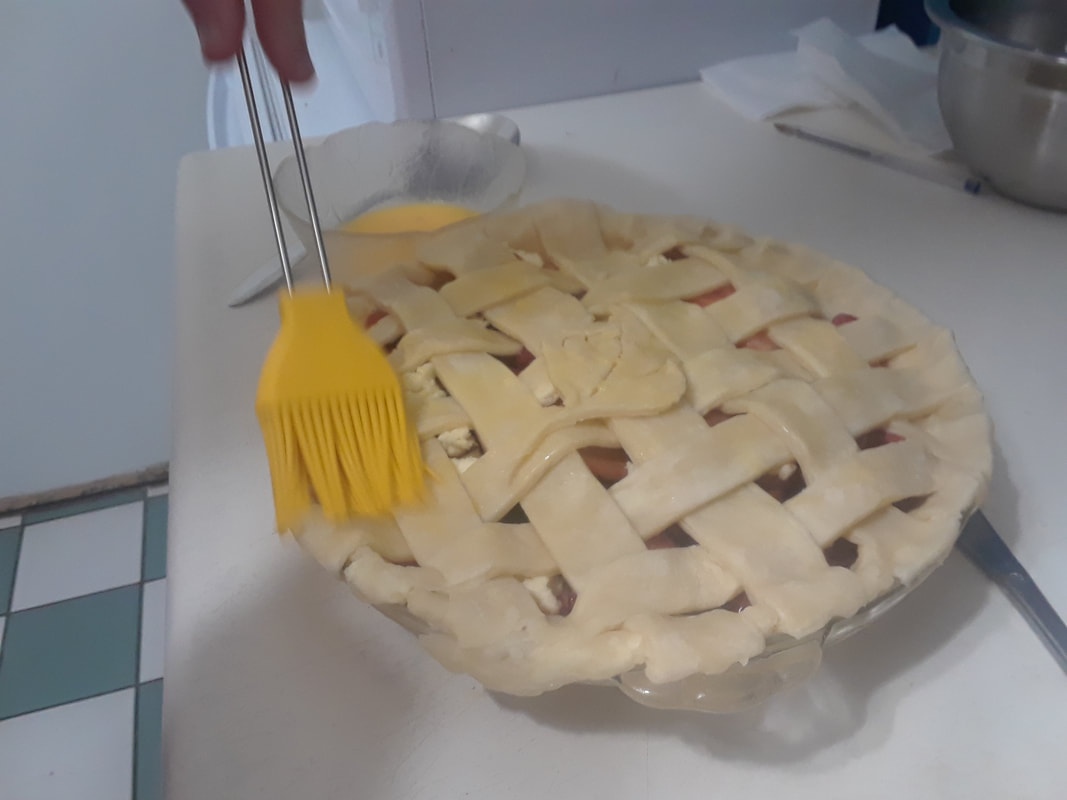 Lightly brush the top of the pie crust with the egg/milk mixture. Sprinkle the top with a little coarse sugar, if desired. If you don't use sugar or something else sweet like ice cream, your pie will be more tart.  Place the pie onto a large baking sheet and bake for 20 minutes. Keeping the pie in the oven, turn the temperature down to 350°F (177°C) and bake for an additional 25-30 minutes. After the first 20 minutes of bake time, I cut a circle of tin foil and cut out the middle, putting the ring of tin foil on top of the pie to prevent the edges from browning too quickly. 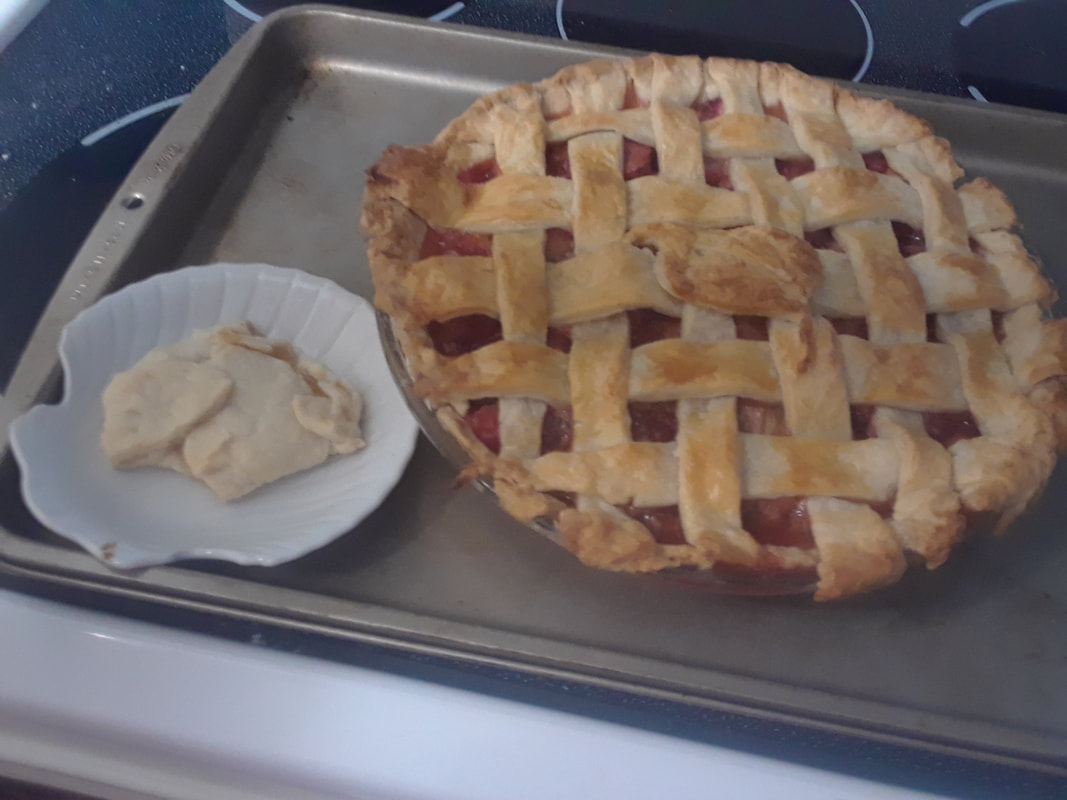 Let the pie cool for about 3 hours on the counter, thickening up so all the filling doesn't spill out when you cut a piece. Keeping the pie in the oven, turn the temperature down to 350°F (177°C) and bake for an additional 25-30 minutes. After the first 20 minutes of bake time, I place a pie crust shield on top of the pie to prevent the edges from browning too quickly. A ring of tin foil is also usable if you don't have a pie crust shield. The thing next to my pie is a apricot marmalade scone my mom made with no recipe because we had extra dough. I had a piece of it. It was delicious! The leaf on top of the pie was my mom's brilliant idea. This was also because we had extra dough. I have gotten lots of nice comments on pictures of this pie. PIE REVIEWS "I love this pie! Honestly, I think it's the best pie I ever had! The crust was a bit thick which I liked. It was flaky and a tiny bit crunchy too. I'm not a sweets guy and the filling was perfectly tart. Loved it!" Cameron Carmichael (Brother) " I was shocked at how amazing this pie turned out! The crust was a beautiful golden brown and the edges were great because Callum put a tinfoil edge guard on after 20 minutes in the oven. The strawberry/rhubarb filling was a perfect consistency. The trick was that he used a slotted spoon to scoop the filling out of the mixing bowl and leave the juice mixture behind. The second thing was to let the pie cool overnight to allow the filling to set up properly, so it didn't run. The pie was tart which went beautifully with the vanilla ice cream. The crust was some of the best pie crust I ever had. It had the flakiness and crunchiness of a streudel pastry. You could taste the butter in it. Both the rhubarn and the piecrust were cooked perfectly. I honestly think Callum could sell this pie to my girlfriends for $15 a pop! They were all very impressed by the pictures. Well done Callum!" Laurie Very (Mom) REFLECTIONS ON MY LEARNING JOURNEY
I have learned so much this year in Baking and had such a good time doing it! The biggest thing for me is that I am so much more confident in the kitchen than I was at the beginning of the year. My independence improved. I didn’t depend on my EA, Mr. Texeira, nearly as much as I did on Mr. James the previous year. Becoming more independent was one of my big goals in my last year at high school My cooking experience from the previous year helped me to be more focused in Baking this year. I was able to continue picking up my speed without making too many mistakes and help stop errors from others. I worked with a lot of classmates that I didn’t know and got to spend some enjoyable time with them. That has helped me with my social skills and I really appreciate how kind everyone in the class was. I even got to learn some new slang (that had nothing to do with baking) but expands my vocabulary!!! I learned how to blog in this class and my photography skills improved alot. Doing it throughout the whole year helped scrapbook my time in this class. I also got more comfortable with taking pictures of other people and myself. I realize now that most people don’t mind using their names or pictures when you ask for their permission. People my age are pretty relaxed about that. The hot oven always scared me and I’m still nervous around it. I practiced the safety procedures and used those great silicon gloves that go way up my arm in baking class. Then I got my mom to buy me some for home. My comfort level is slowly going up the more I use the oven. I have also started cooking at home on the top of the stove by myself in the last six months. That’s been huge for me and I really enjoy experimenting with different ingredients. I think that’s been from all I’ve learned from Baking 11/12. I’ve learned that I can find and follow recipes to bake or cook pretty much anything now if I want to and have the time. The final pie assignment is a good example. My Aunt told me that if I learn how to bake a pie, then I can pretty much bake any type of pie I want. So when I get experience baking one thing, I can apply that knowledge to a lot of things. Like scones, cookies, etc. Right now I still need supervision with my baking but I honestly believe that one day I’ll be doing it on my own. Thank you for being my teacher, Ms. Siverson. Your main thing was always “I’m you, but older!” I always enjoyed your kindness and how you always tried to make baking fun. Love You, Miss You, Bye!!! Callum Carmichael
0 Comments
Today, my mom and I cleaned out our fridge. My mom gave instructions while I worked after my mom gave examples. 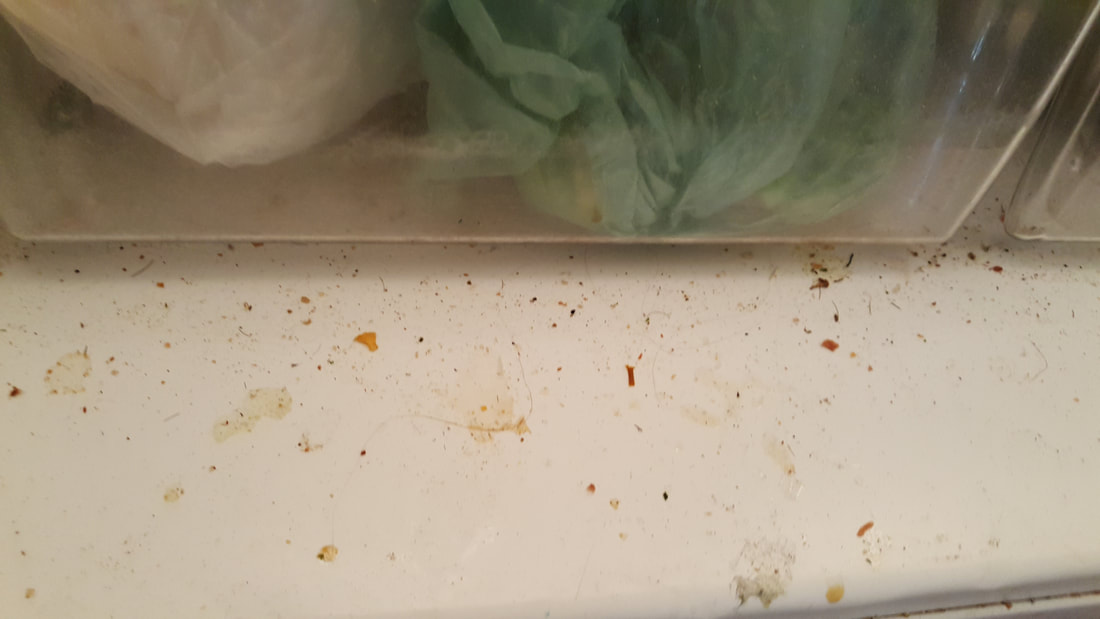 The fridge was really dirty, crowded and things would get lost in the back of the fridge. 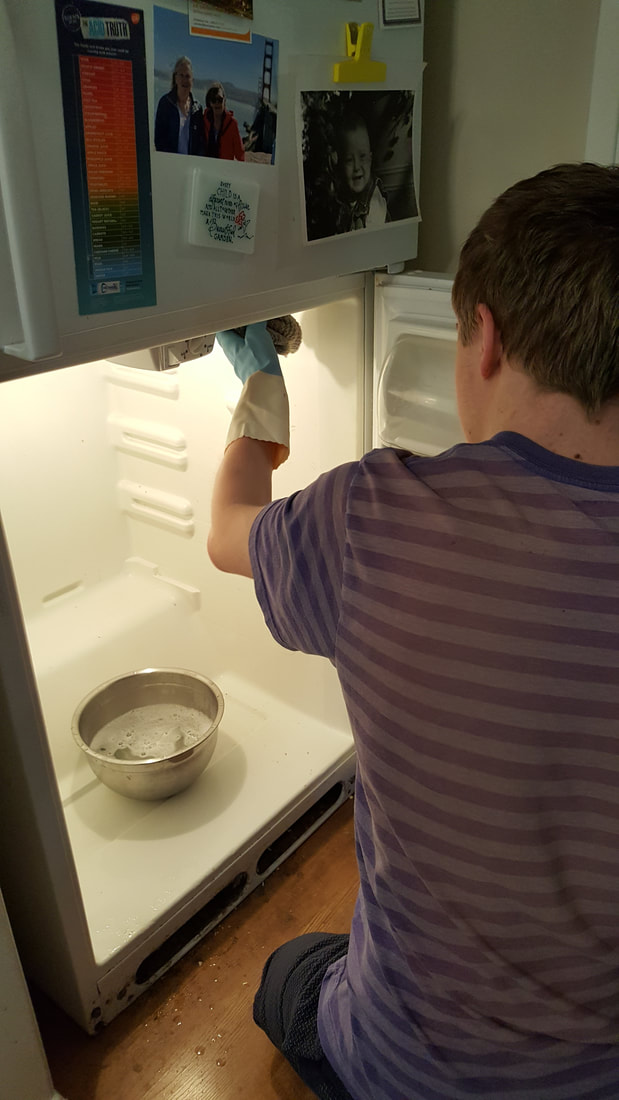 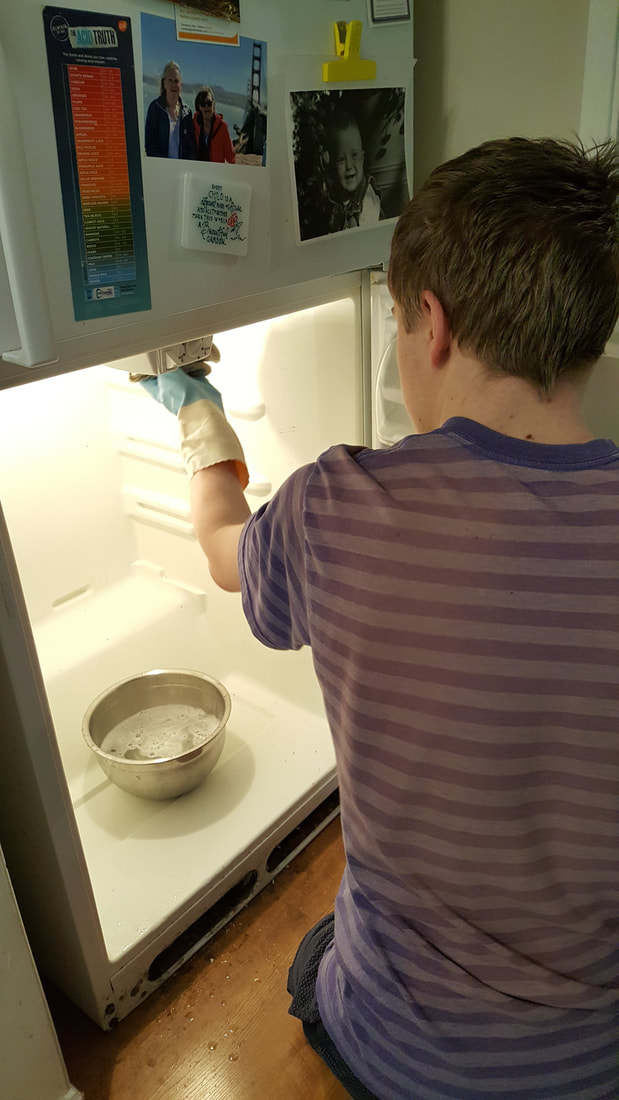 This is me cleaning the fridge with a mix of warm water, vinegar and a little bit of soap. 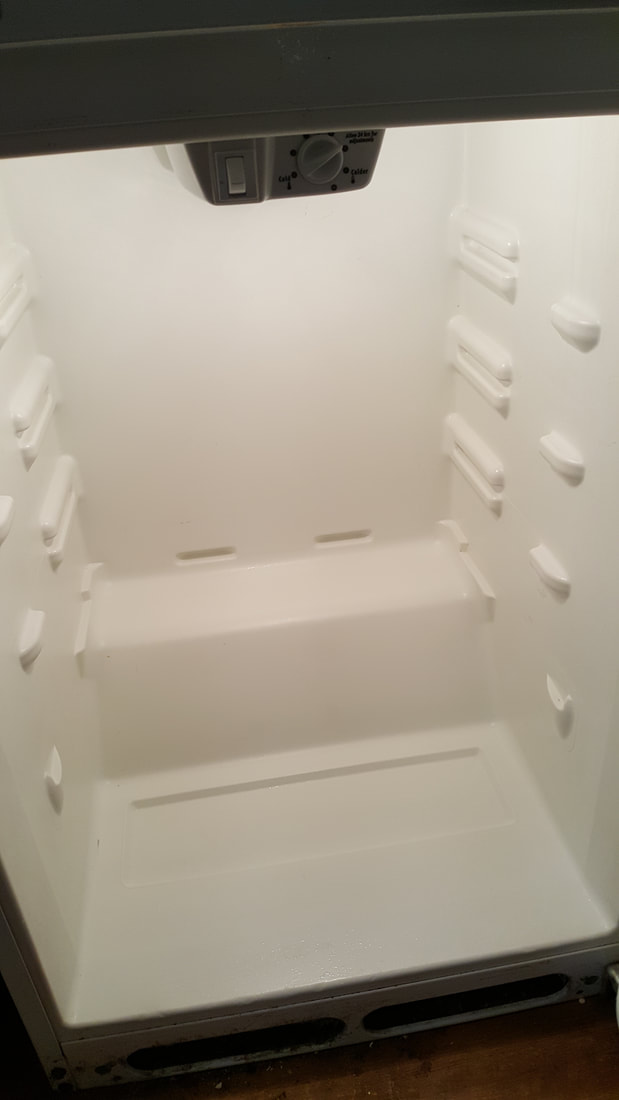 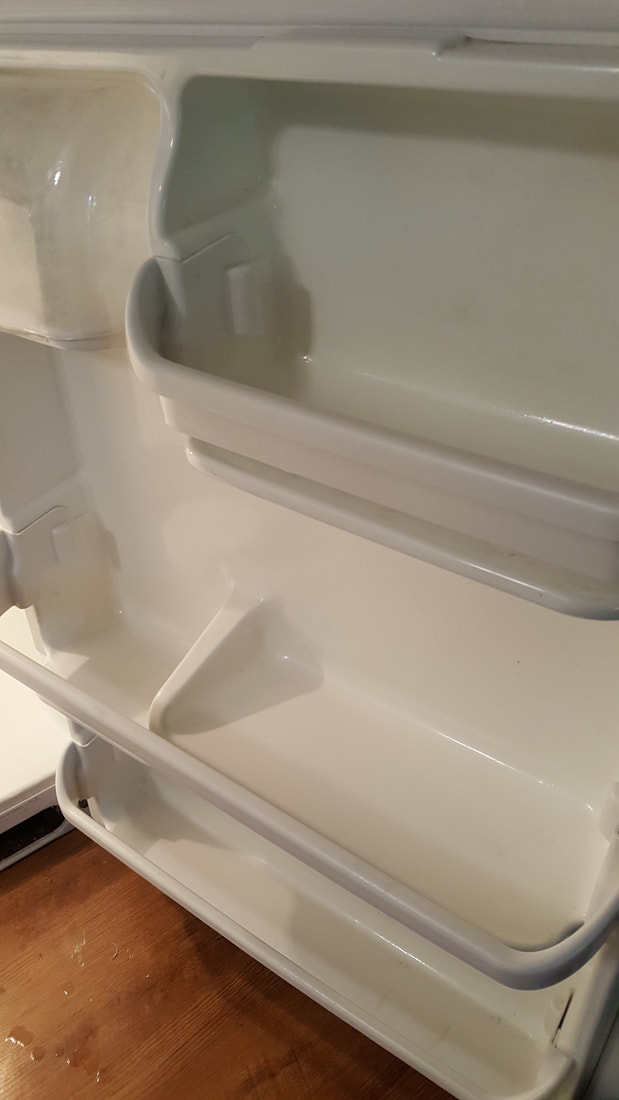 The fridge clean and completely empty. 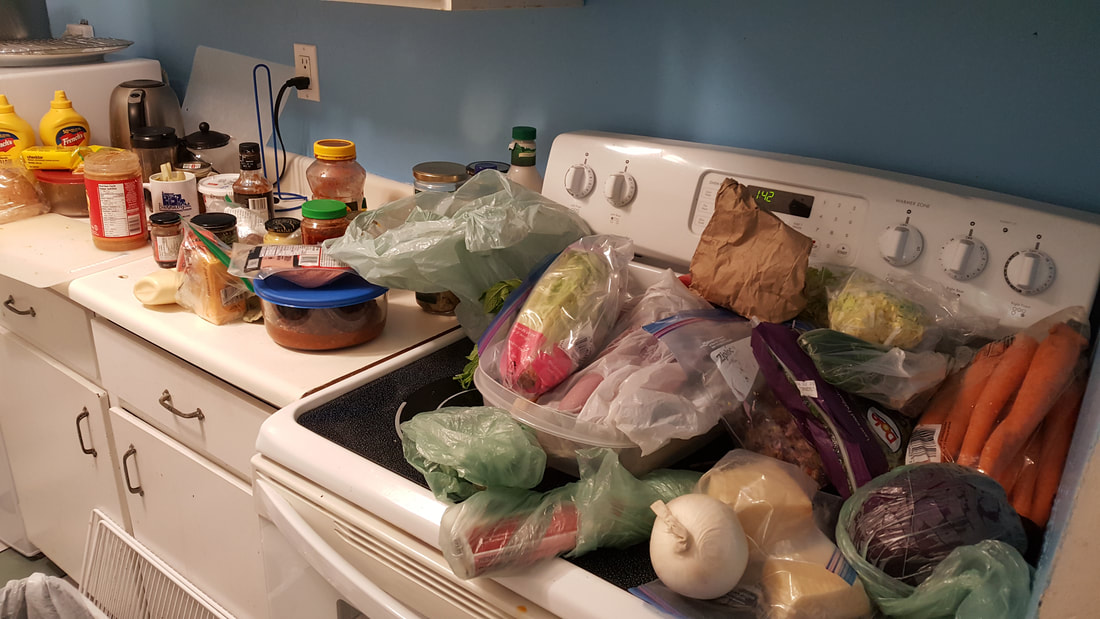 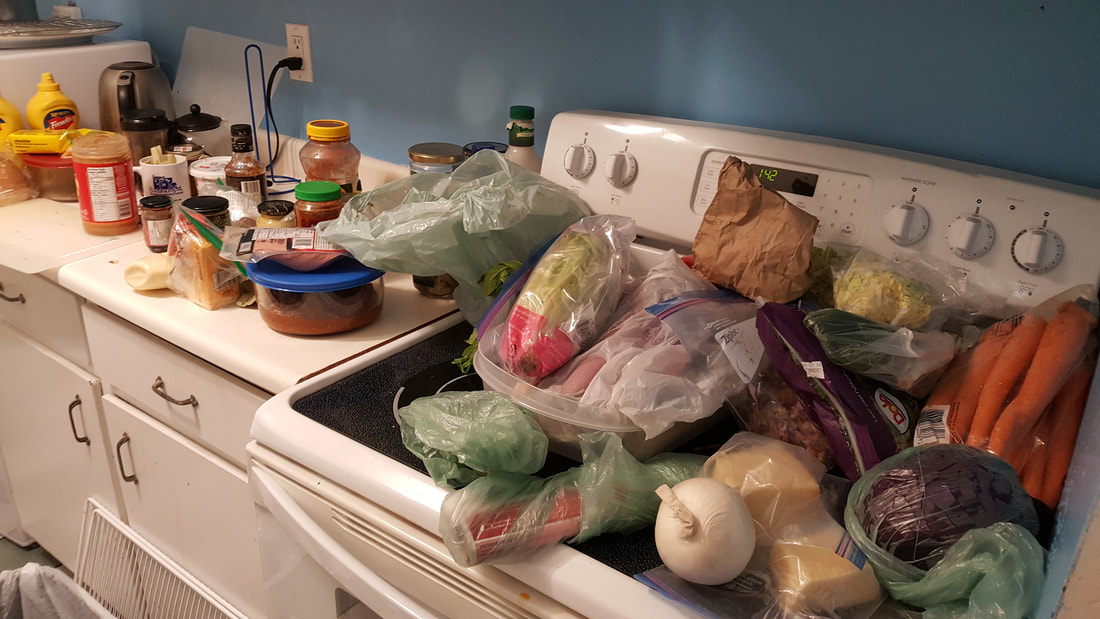 Food on the counter and stove. vegetables on the stove. other stuff on the counter. 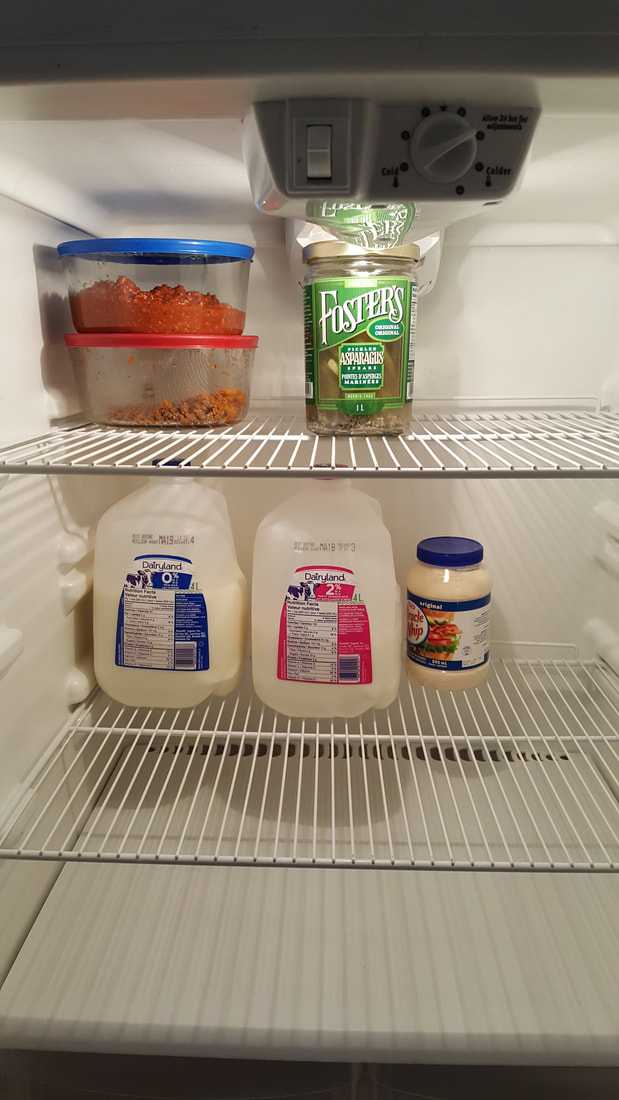 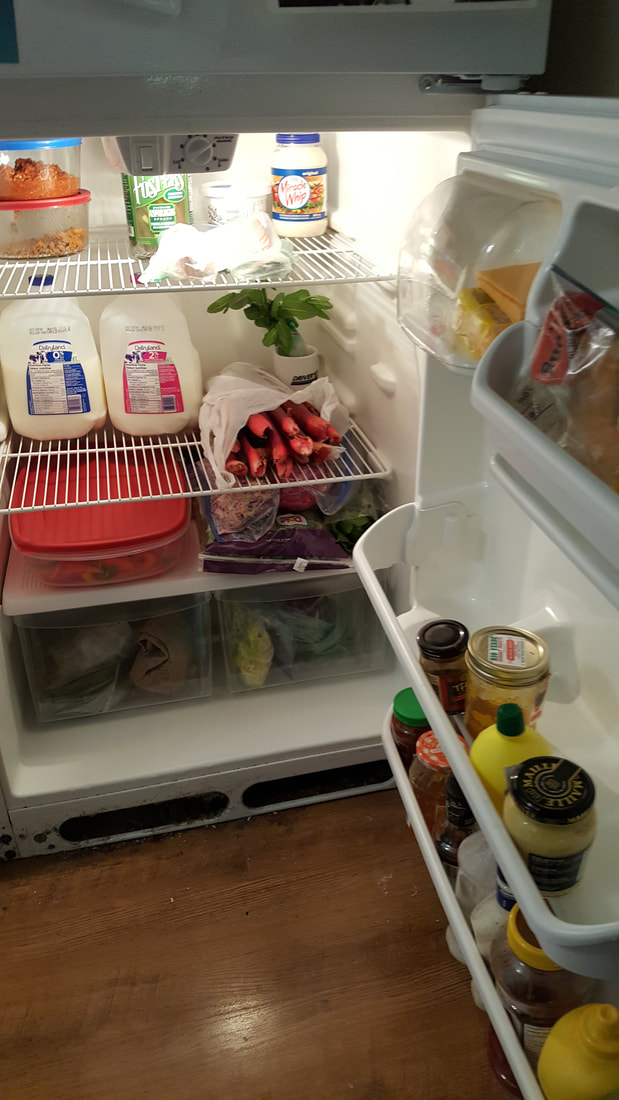 This is the fridge sorted and cleaned and restocked. The shelves are moved around so there is more space.
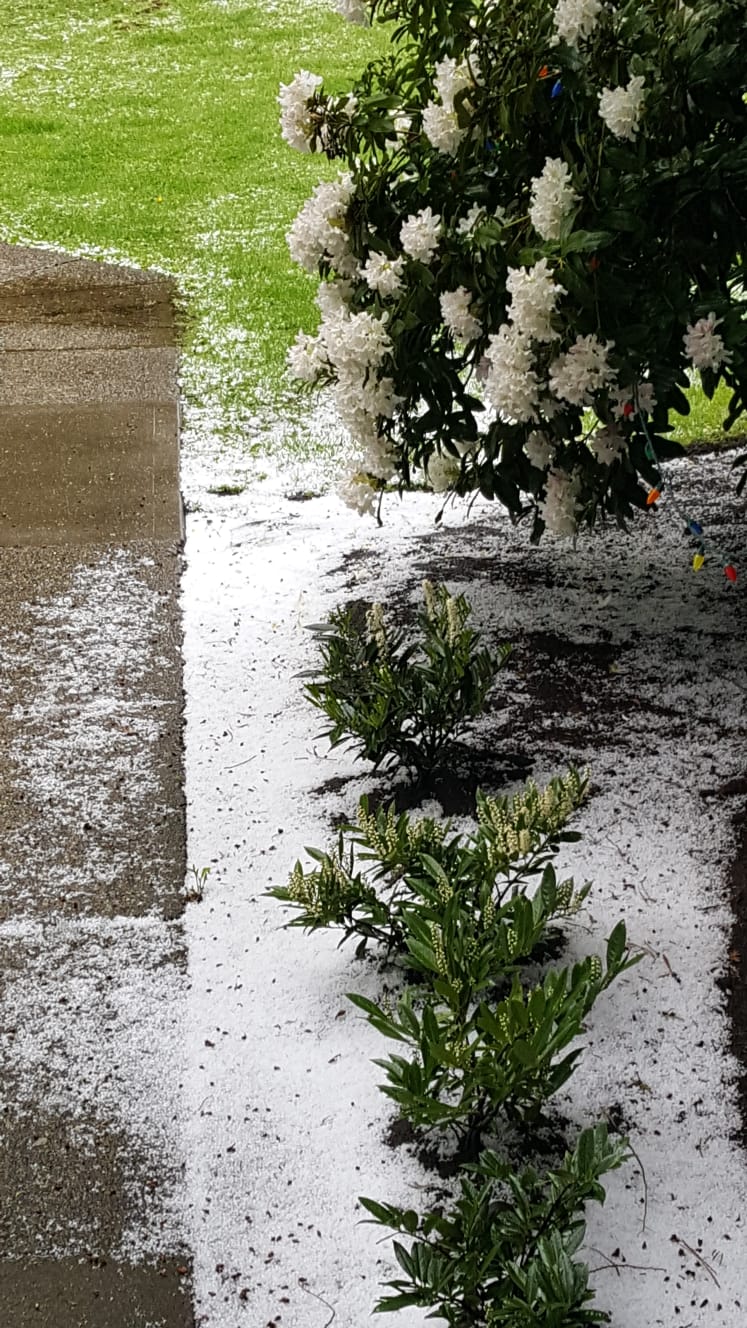 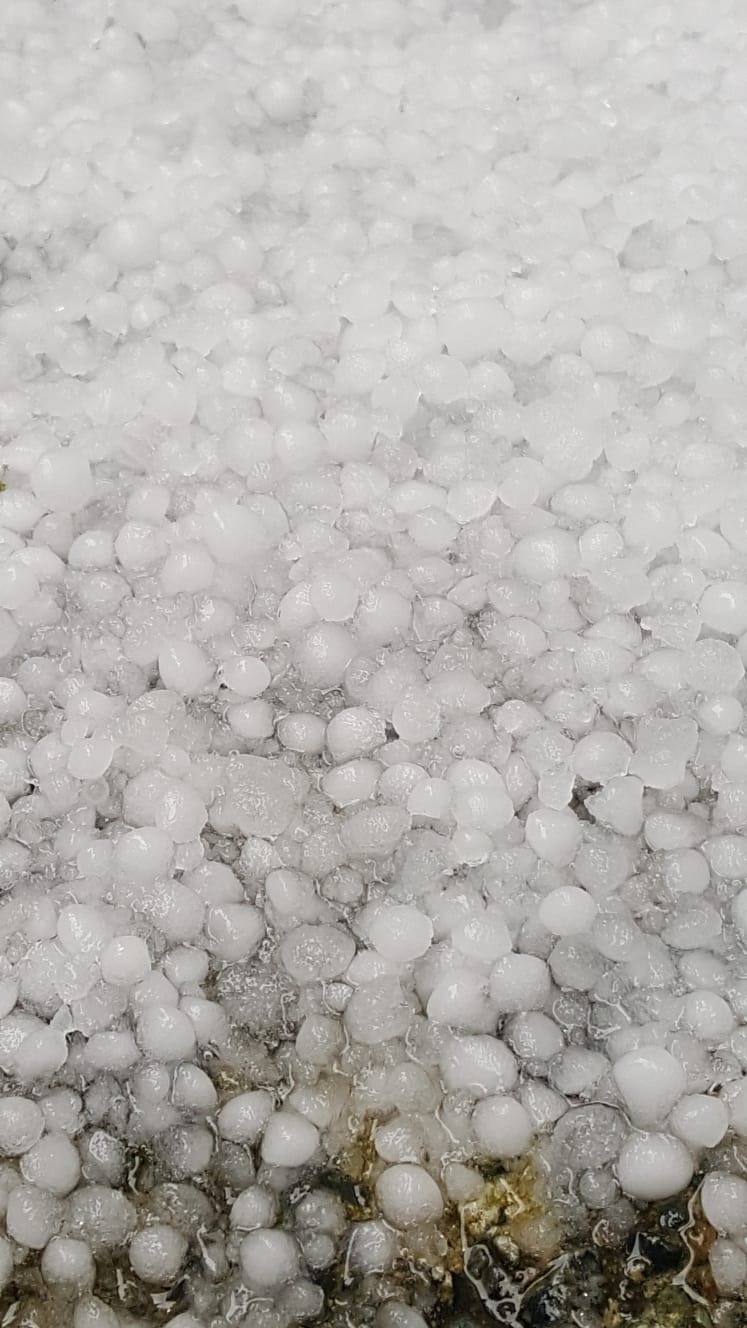 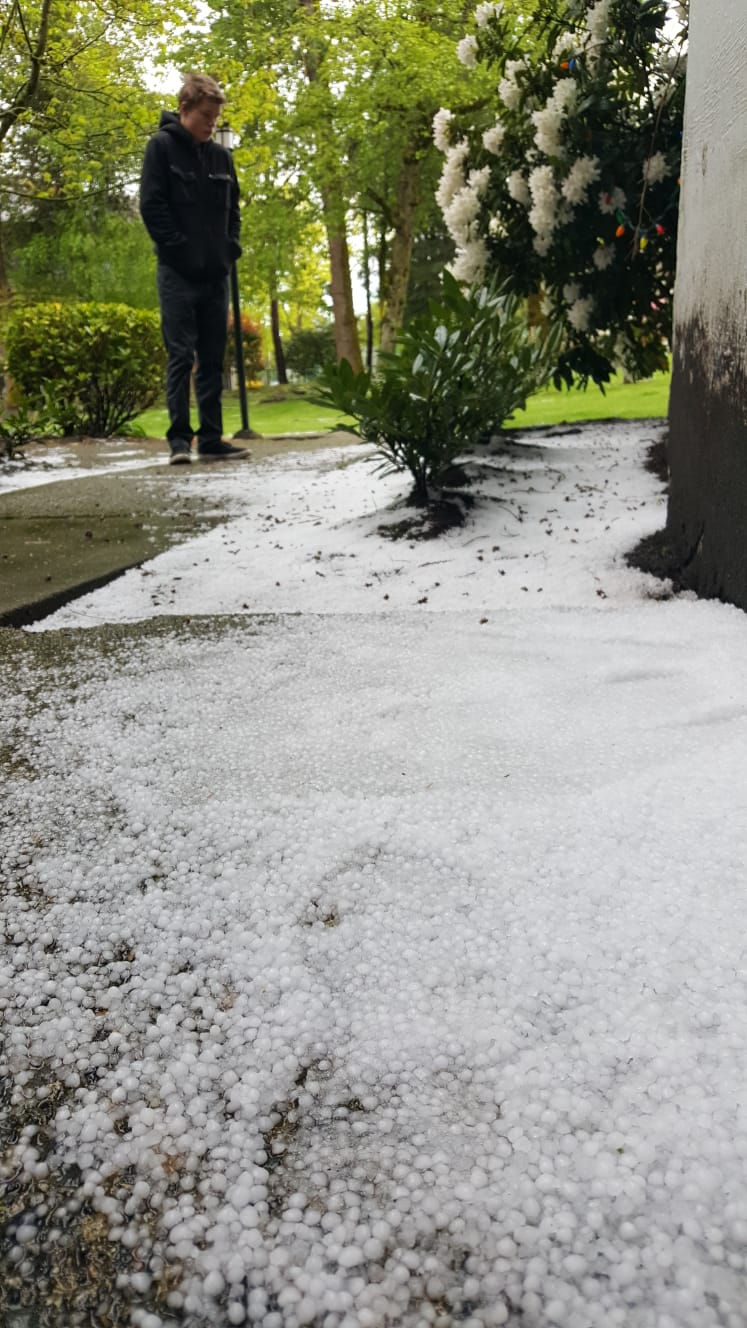 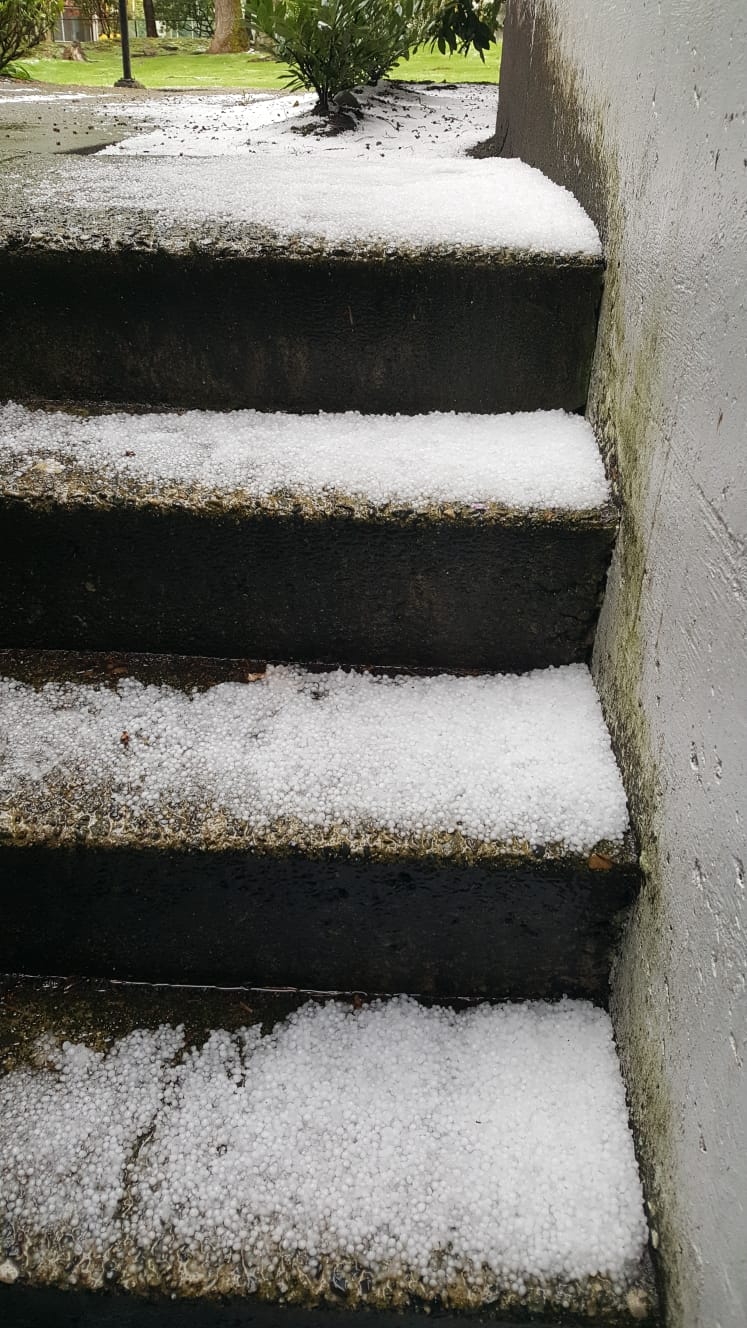 A little while ago when these pictures were taken, it hailed a lot. It bucketed out there. afterwards it sort of looked like it snowed. I got a bowl of it in the freezer. It came over from Port Coquitlam an hour beforehand. I know this because that is where my dad works. This is also I am pretty sure the first time I am in one of the pictures. My mom was taking the pictures. I love her so much. My mom and I discussed making snow cones with the clean hail. I haven't tried eating it. Also, for clarification as to what those red and blue things are; my family leaves the Christmas lights up year round.
I went on an approximately hour-long walk-jog with my mom today. I did the walking and jogging and my mom just walked.There is a lot more street art nowadays. Chalk drawings with positive messages, beautiful painted rocks, that sort of thing. I love it and think this art thing should be done year round if there is time to, or just leave what is there for the foreseeable future.
Day 3 of Sourdough bread / Final Day / Day 8 approximately including original starter time4/30/2020 I finished my bread on Wednesday evening yesterday (as of Thursday April 30th, 2020). It had to be cooked an extra 5-10 minutes to get golden brown probably because it was so dense because my mom and I packed the flour in the original starter and therefore there was much more flour and made the starter much thicker and doughier (not a good thing). The bread also had a horizontal stripe in the middle that didn't have any bubbles in it and was darker and more dense than the already dense rest of the bread. Is this normal or did I under-cook it or was this because of the extra flour? Regardless of all this Everyone that tried it loved it! I loved it! My mom loved it! My brother Cameron loved it! My dad kept going back for seconds, gave me 5 compliments on it throughout the night, and had some of the sourdough bread for dinner! All things considered, next time the flour shouldn't be packed and no water but distilled water (my tap water is slightly chlorinated) should be used in the starter or bread, but other than that, great success!
Day 1 was yesterday as of Tuesday,April 28, 2020.
As you may have noticed, I changed the font colours on my blog and changed my name font. Now it isn't so monochromatic. It is a small detail though. I like it. Stay safe, stay indoors unless necessary to go outside and have a spectacular day!
I had a bit of a late start with this and didn't start until Monday of this week and worked on this from Monday April 20th to Friday April 24th. I might have starved it since I first fed it at 10:40am approximately, then 11am the next day, then 12pm (noon) next, at noon again the next day. I might have to redo it next time. I also didn't use filtered water the first day but I did use warm water. Hopefully it didn't turn into a bacteria culture. Is yeast bacteria? If so, it is sort of good it was then. Anyway I the other 3 days I did use filtered water but it was cold to room temperature filtered water but it only said to use warm water the first day. I also put my starter on the counter above the dishwasher for the first day. The counter is warm when the dishwasher is going and afterwards for a bit. On the rest of the days I just put a mug of boiling water near it on the counter (still in the mug of course). I am rambling. Here are the pictures and the recipe. Pages 11, 12 and 13 are especially useful. Sorry this is a slight bit overdue. Stay safe and have an amazing day!  Recipe page 11 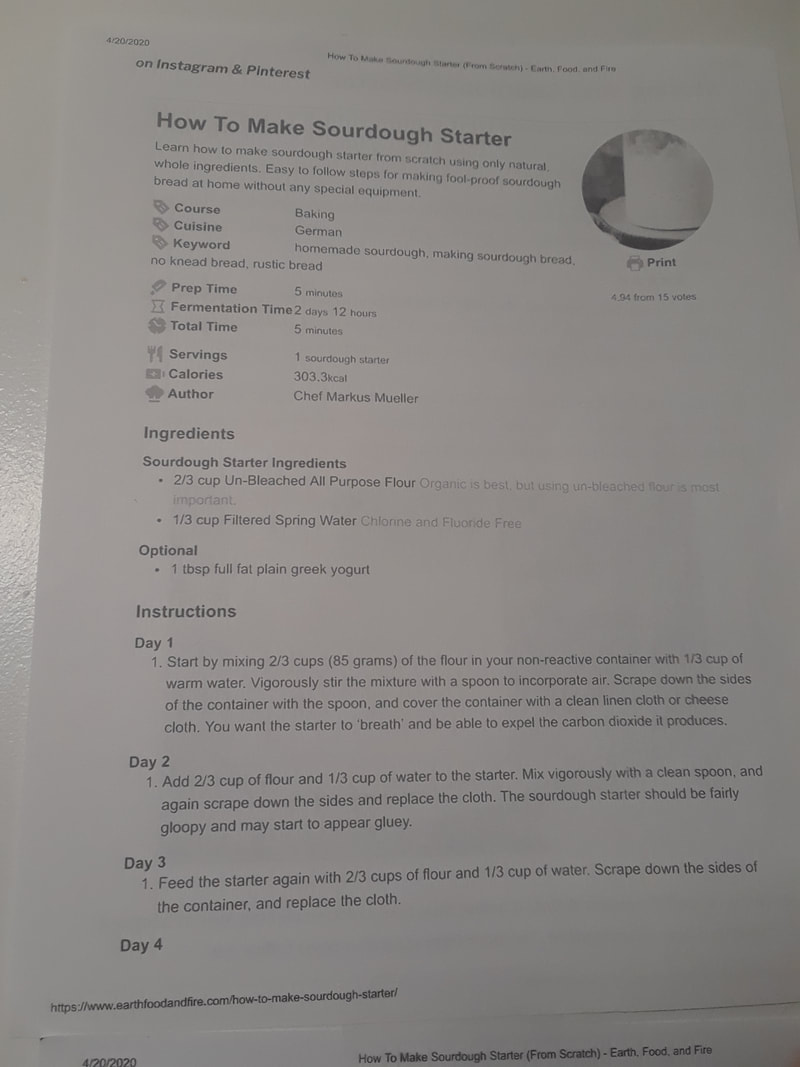 Recipe page 12 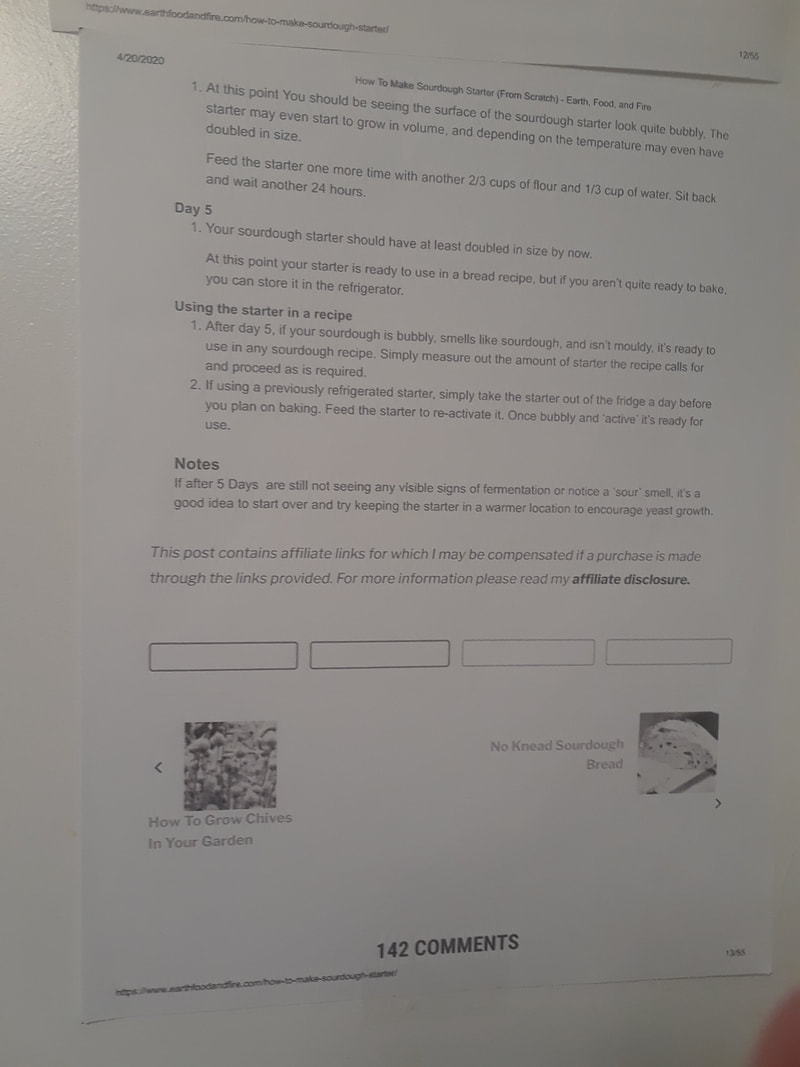 Recipe page 13 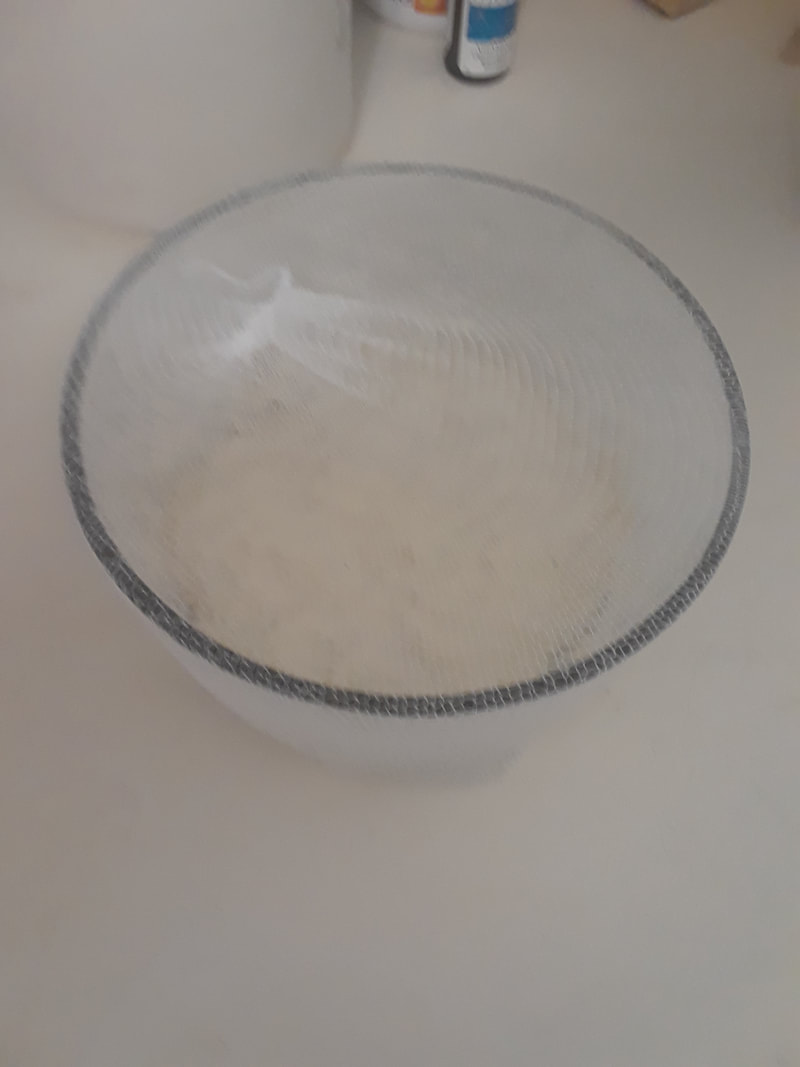 My Sourdough starter day 2  My Sourdough starter Day 3  My Sourdough starter Day 5 pic 1 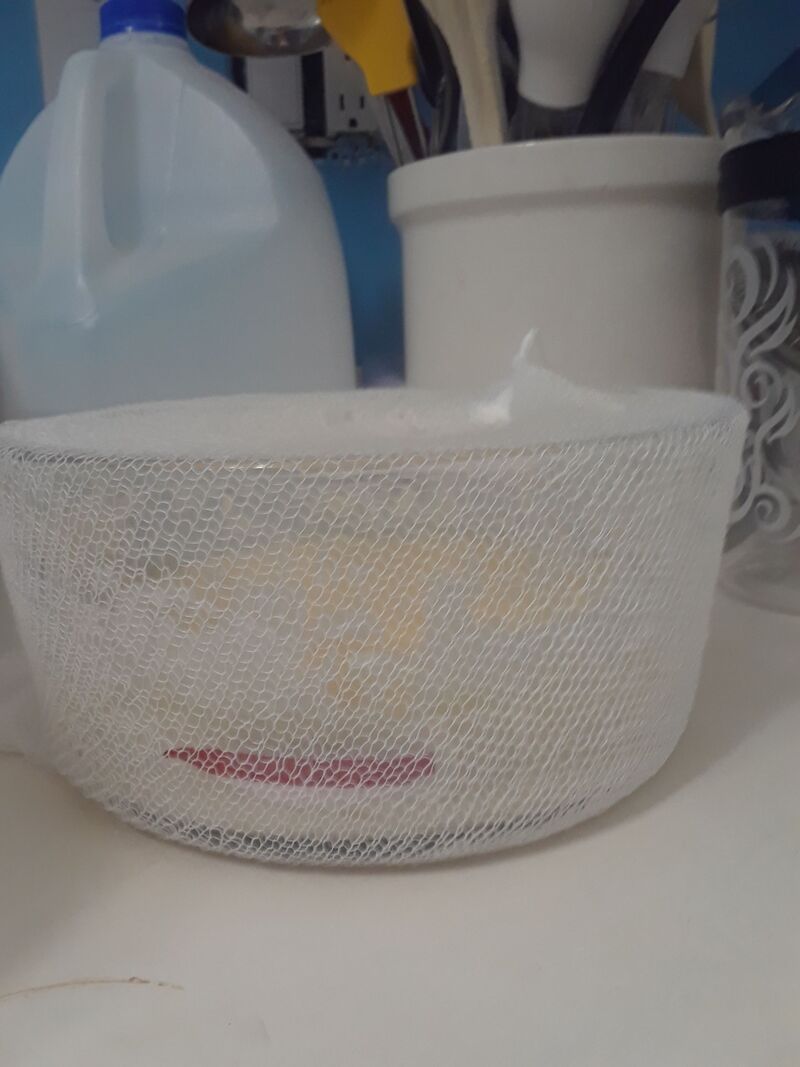 My Sourdough starter day 5 pic 2 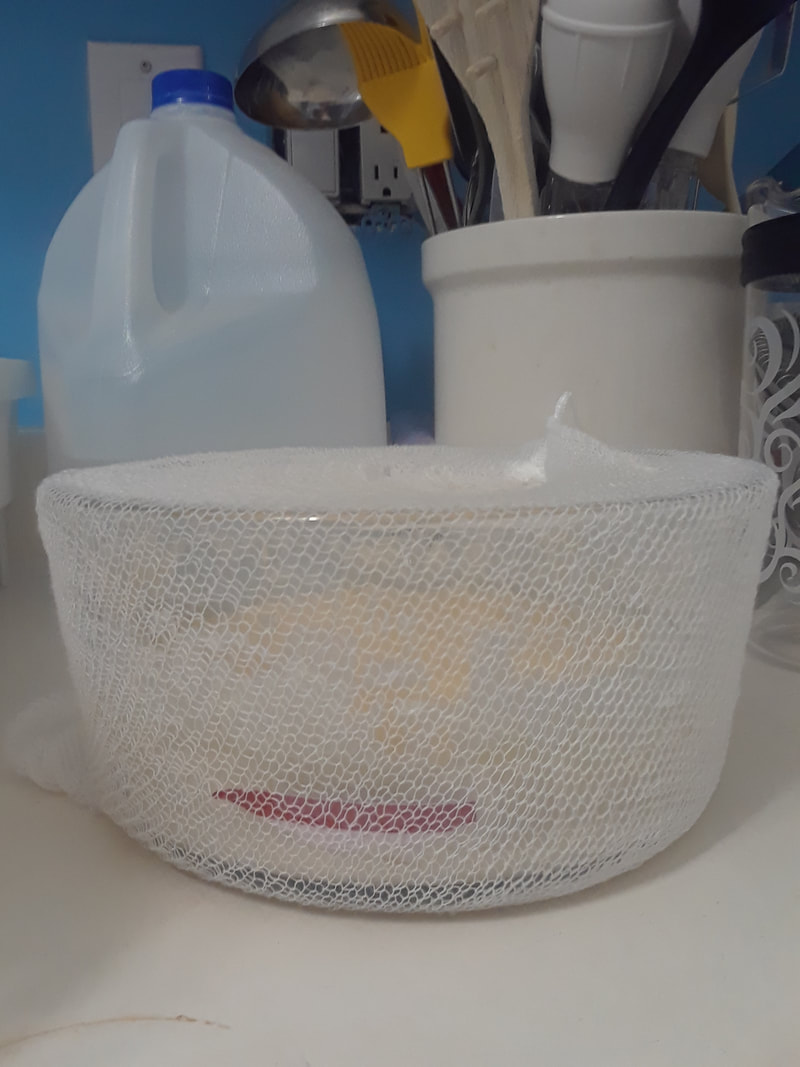 My Sourdough starter Day 5 pic 3 |